https://github.com/dechamps/FlexASIO
GitHub - dechamps/FlexASIO: A flexible universal ASIO driver that uses the PortAudio sound I/O library. Supports WASAPI (shared
A flexible universal ASIO driver that uses the PortAudio sound I/O library. Supports WASAPI (shared and exclusive), KS, DirectSound and MME. - GitHub - dechamps/FlexASIO: A flexible universal ASIO ...
github.com
0.FlexASIO?
universal ASIO driver라고 설명 되어있는데 일종의 가상 드라이버로 다른 recording장치와 playback장치 측 스피커 마이크에서 오디오 버퍼를 땡겨와서 동작하는 드라이버로 사용할 수 있다.
이 글에서는 Window환경 Visual Studio2019 개발 기준으로 CMake가 설치되어있다는 가정하에 작성하였다.
CMake가 설치되어 있지 않다면 아래글을 참조하면 된다.
https://jzi040941.tistory.com/26
Visual Studio CMake 환경 구성하기
1. visual studio installer 실행 2. Visual Studio Version Select 3. CMake tools for windows 설치 위와 같이 체크해주고 설치를 진행하면 Visual studio안에서 cmake 환경 구성이 완료된다.
jzi040941.tistory.com
1. FlexASIO clone
git clone --recursive https://github.com/dechamps/FlexASIO.gitsubmodule들이 각각의 git repo 이기 때문에 --recursive 옵션과 함께 클론 해야 한다.
2. Visual Studio directory open
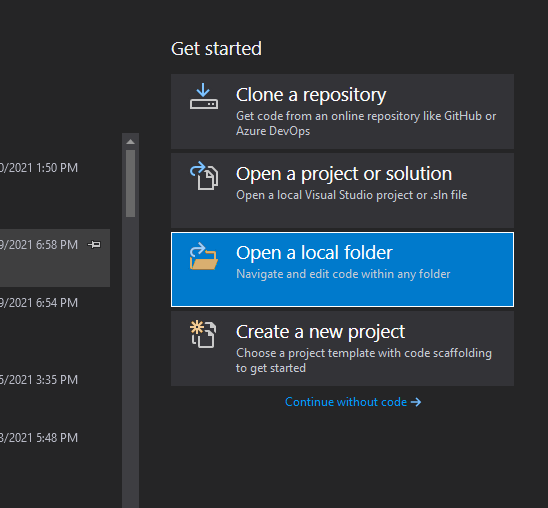
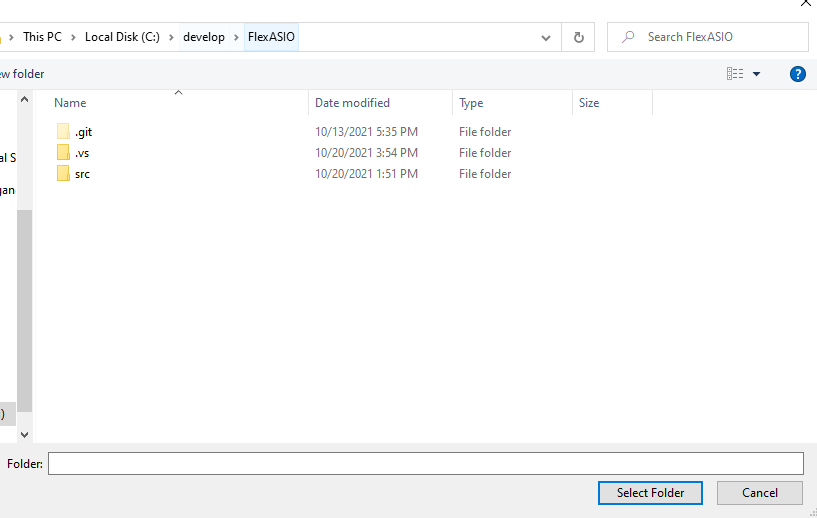

visual studio에서 자동으로 CMakeLists.txt를 detect하고 Camke generation을 실행한다.
finished 될때까지 잠시 기다려준다.
그후 그냥 build를 하게 되면 startup project가 없다는 오류가 뜰 것이다.
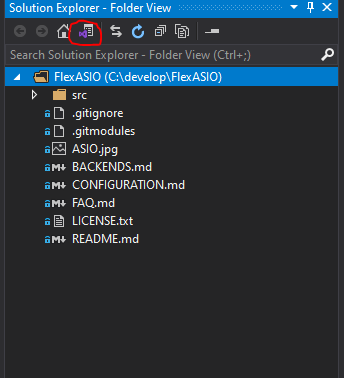
이때 오른쪾 solution explorer에서 해당 버튼을 선택하면 아래 처럼 바뀌게 된다.

CMake targets View를 더블클릭 하고 flexasio Project를 오른쪽 클릭하여 build all을 해주면 정상적으로 Build가 진행이 된다.

3. innoinstaller와 build된 dll을 통해 driver 설치
빌드가 완료 되었다면
src\out\build\x64-Debug (default)\install\bin 경로 아래에

FlexASIO.dll 이라는 파일이 생성이 되어있을 것이다.
확인이 되었다면
https://jrsoftware.org/isdl.php
Inno Setup Downloads
ISCrypt.dll Netherlands 1,326,383 2.5 KB Encryption module for Inno Setup.To install, simply place the file in your Inno Setup directory.
jrsoftware.org
위 링크로 들어가서 Inno Setup을 설치 한다.
설치가 완료 되었다면 src폴더에 installer.in 이라는 파일을 open할 수 있을 것이다.


빨간색으로 쳐져 있는 부분을 아래와 같이 경로를 수정해 주어야 정상적으로 설치가 진행이 된다.
64bit 환경에서 빌드하고 실행할 것이므로
x86은 무시해도 괜찮다.
Source:"out\build\x64-Debug (default)\install\bin\FlexASIO.dll"; DestDir: "{app}\x64"; Flags: ignoreversion regserver 64bit; Check: Is64BitInstallMode
Source:"out\build\x64-Debug (default)\install\bin\*"; DestDir: "{app}\x64"; Flags: ignoreversion 64bit; Check: Is64BitInstallMode
Source:"out\build\x64-Debug (default)\install\bin\FlexASIO.dll"; DestDir: "{app}\x86"; Flags: ignoreversion regserver
Source:"out\build\x64-Debug (default)\install\bin\*"; DestDir: "{app}\x86"; Flags: ignoreversion

Run을 하고 위와 같이 설치를 완료하면 된다.
윈도우 키 + R 를 누르고 regedit를 실행시켜
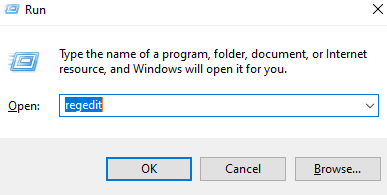

위와 같이 FlexASIO가 있다면 정상적으로 설치가 완료된 것이다.
'잡것들' 카테고리의 다른 글
| VSCode python auto lint, black format, organize import (0) | 2022.03.14 |
|---|---|
| windows driver documentation (0) | 2022.01.05 |
| Visual Studio CMake 환경 구성하기 (0) | 2021.10.20 |
| USB Streamer firmware 변경하는 법 (0) | 2021.10.01 |
| github token 생성 & store in server (0) | 2021.09.08 |

